1 : 1 Belt Bag
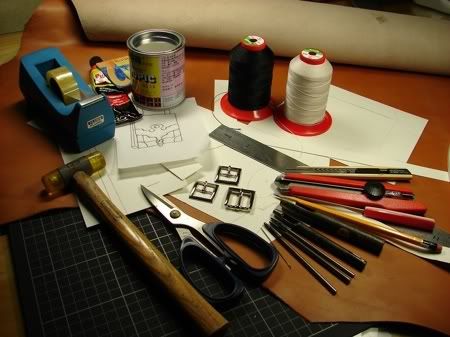
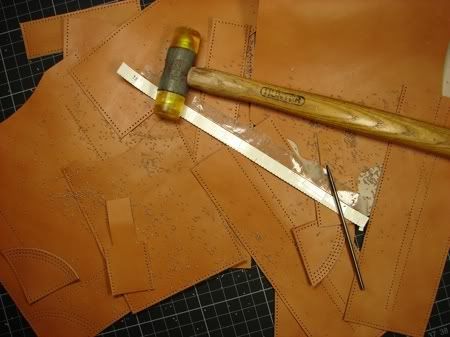
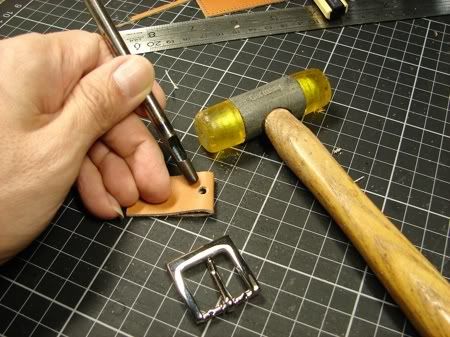
1. Prepare all necessary tools and materials.
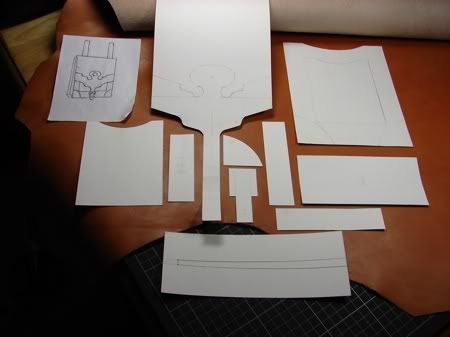
2. Trace the patterns to tracing paper and transfer to cardboard. Cut out the patterns.
3. Tape the patterns on the surface of the leather.
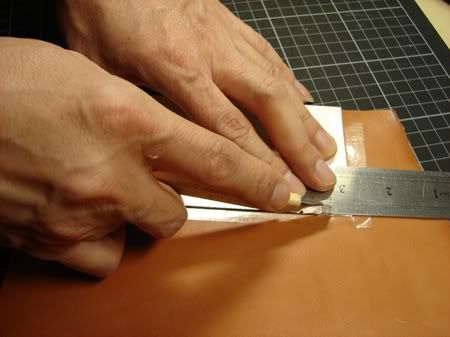
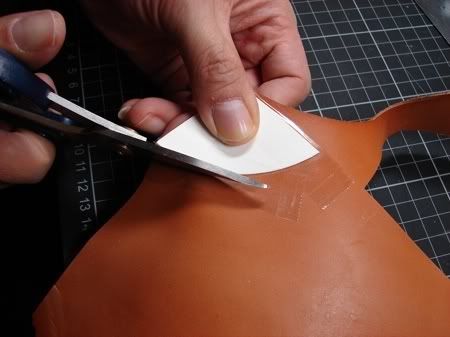
4. Cut out the patterns by using a leatherworking scissors or cutter.
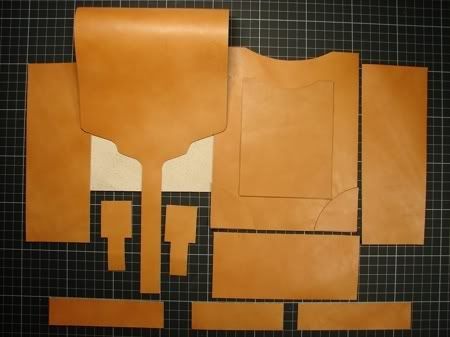
5. Leather patterns ready for sewing.
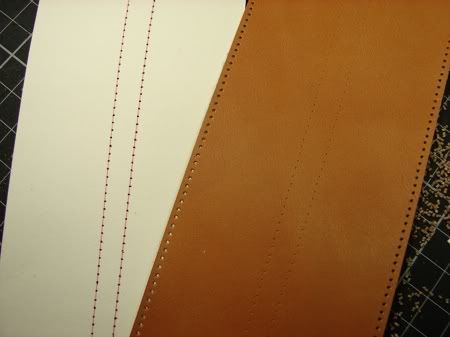
6. Punch 0.5 mm holes evenly along edges of the patterns for sewing.
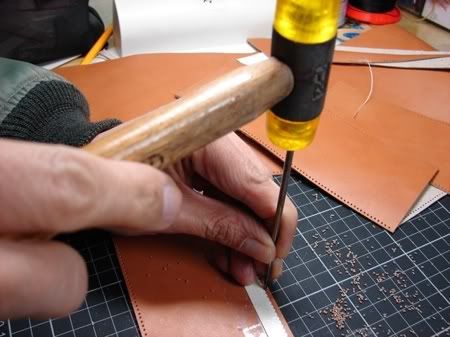
7. Toensure the stitches are even, make marks on a cardboard first, tape tothe leather piece and punch holes following marks on the cardboard.

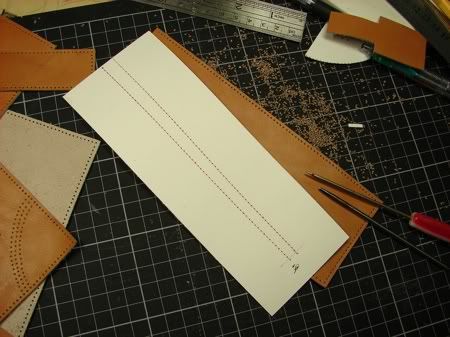
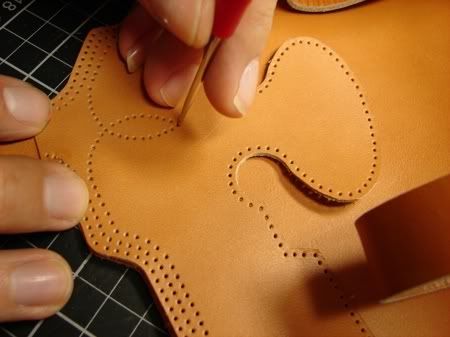
8. For holes on thecenter of the leather piece - cut an exact piece of cardboard as thepattern, mark dots on the center of the cardboard.
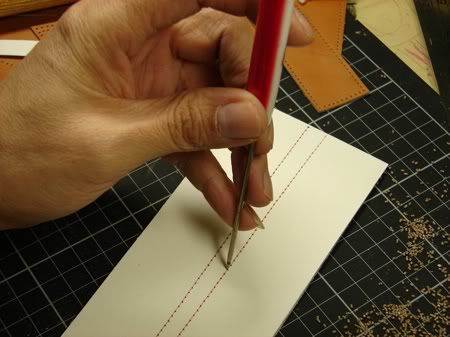
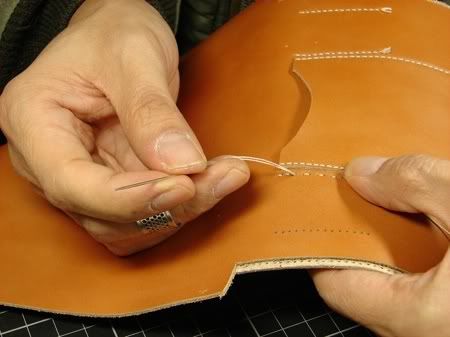
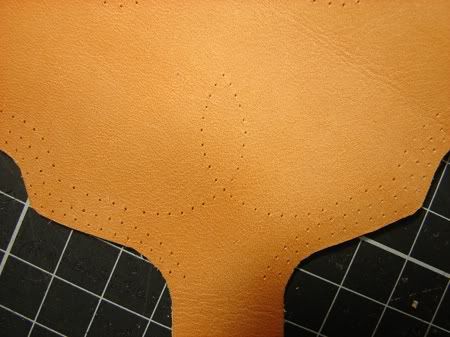
9. Place the cardboard on top of the leather piece; use a needle to make marks on the surface of the leather.
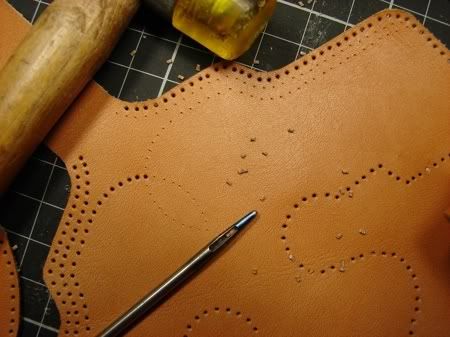
10. Punch holes following the needle marks.
11. All leather pieces with punched holes ready for sewing.
12. Sew the leather pieces together by leatherworking nylon treads.

13. Maintain even strength when sewing to produce neat and tidy stitching.
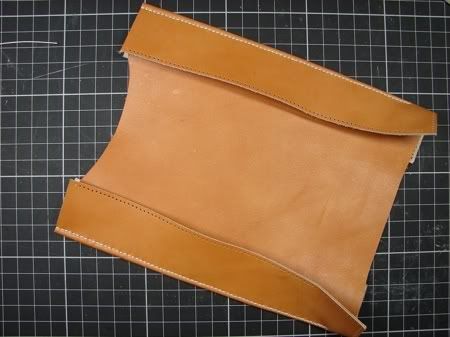
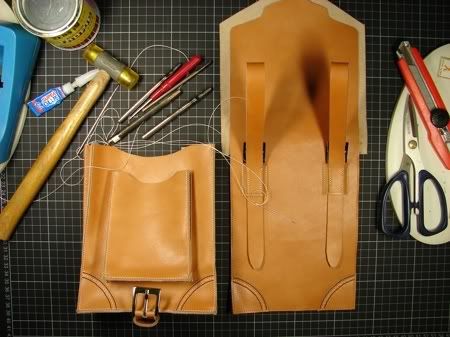
14. Finished look for the front and back of the belt bag.
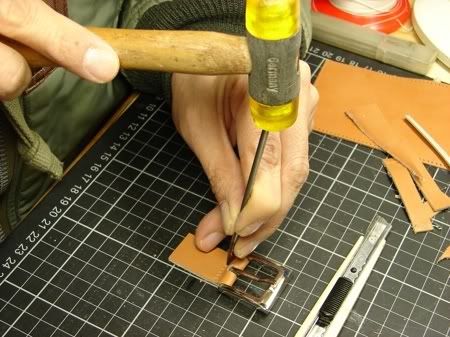
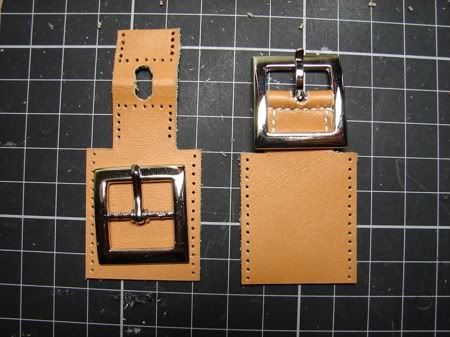
15. Fold the leather pattern in half; punch a 3mm hole near the folded edge.
16. Cut out the leather between the 2 holes so it makes a long hole.
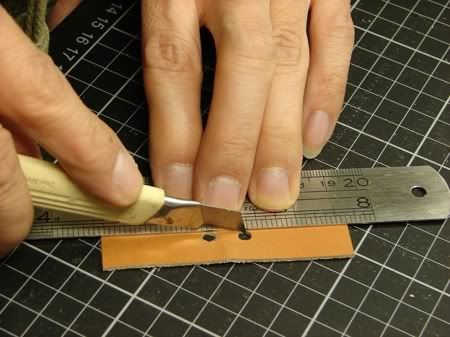
17. Make sure the buckle tongue fits into the hole.
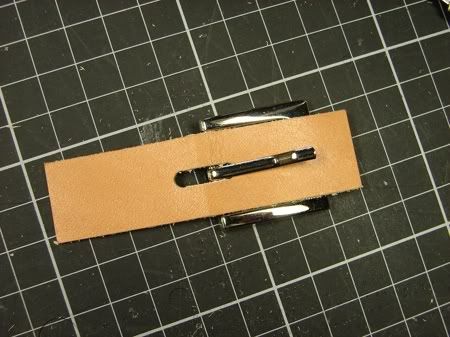
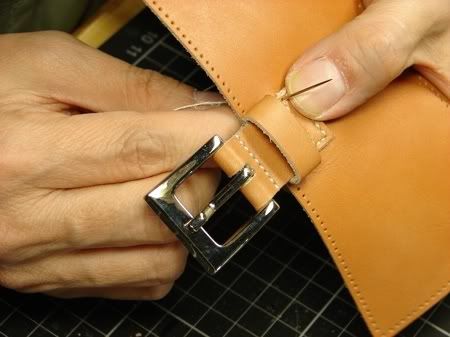
18. Insert the buckle and glue the two sides together.
19. Repeat the sewing steps to secure the buckle.
20. Sew the buckle to the leather pattern accordingly.
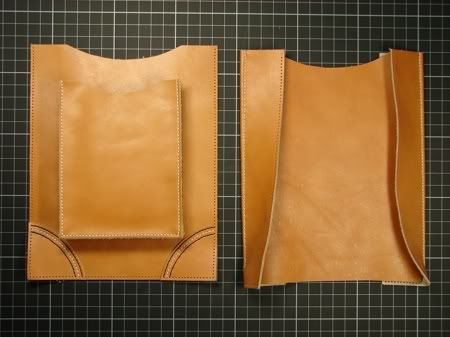
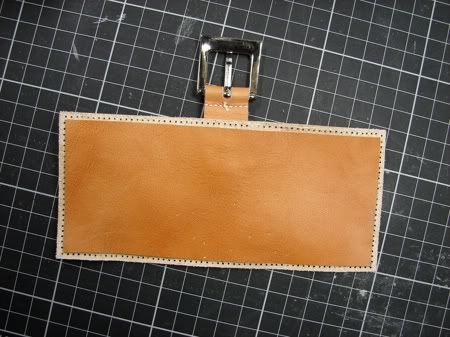
21. To make the bag more structured, glue one more piece of leather to the inside of each pattern.

22. Finished look for the flip of the belt bag.
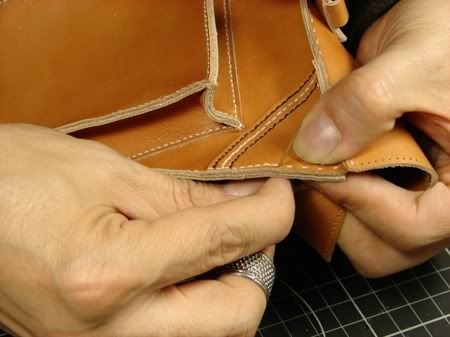
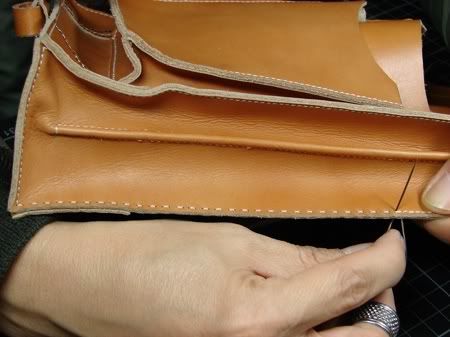
23. Stitch the flip to the bag.
24. Another buckle.
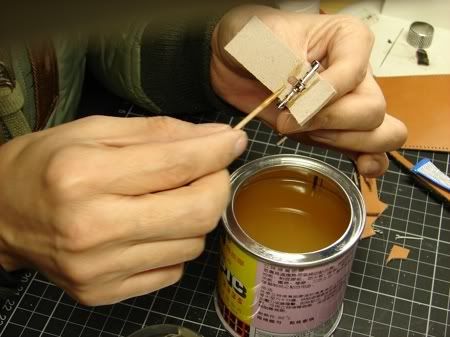
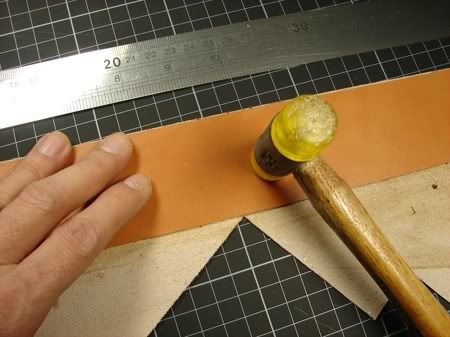
25. To make the straps,glue two pieces of leather together. Hammer evenly over the leather tomake sure that the two pieces of leather are stick together properly.
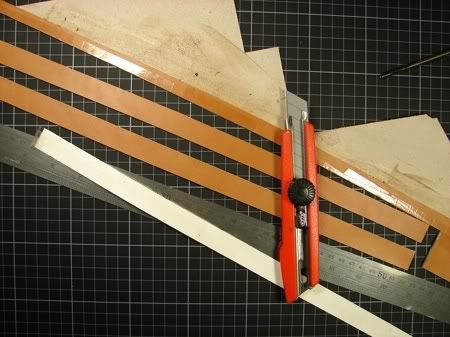
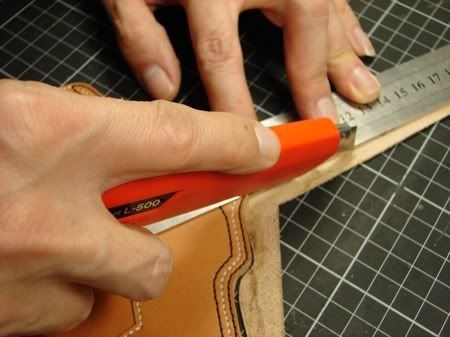
26. Use a cutter to cut the straps.
27. Sew the strap to the buckle.

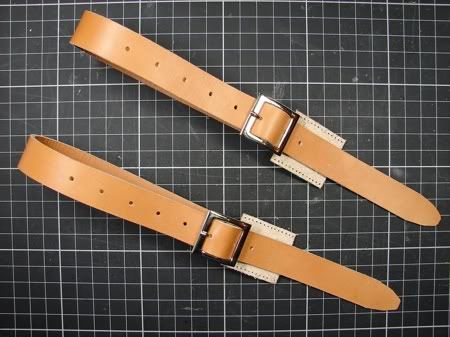
28. Finish look of the buckles and straps.
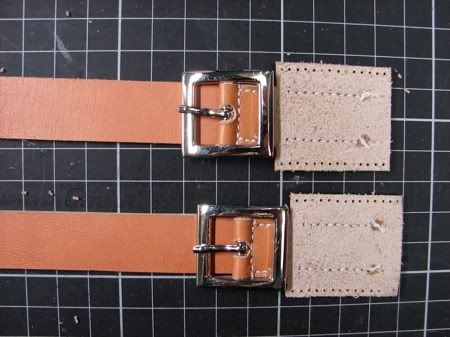
29. Another finish look of the buckles and straps.
30. Sew the straps to the bag.
31. Buckles and straps sew on the bag.
32. Sew together the front and the back of the bag.
33. To give the bagmore style, we can add a special pattern to decorate the flip cover.Design your own pattern and sew on the flip cover the same way asmaking the bag.

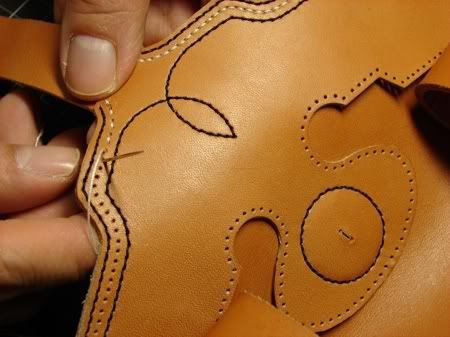
34. A few symmetric lines add highlight to the pattern. Mark the hole of the symmetric lines to the original flip cover.
35. The needle holes transferred from the pattern to the flip cover should be seen clearly.
36. By following the needle marks, punch out the decorative lines with care.
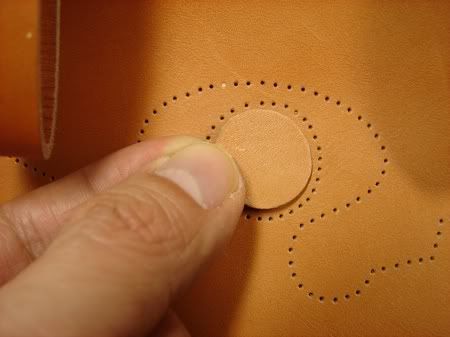
37. I've added another piece of leather to the center of the pattern.
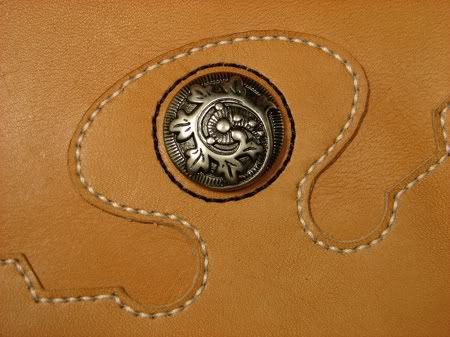
38. To make the bag more unique, I am using black and white stitchings to decorate the symetric lines on the pattern.
39. I am adding arustic finish embossed metal button to the center tip of the pattern,highlighted by black stitching around it.
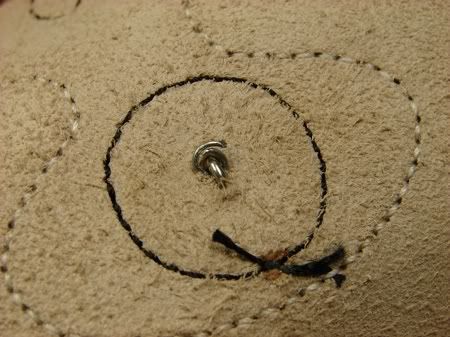
40. The back of the metal button.
41. I'm using 3 layersof leather for this flip cover to provide a more stiff and durableeffect. Sew the pattern to the flip cover first; and then glue this tothe 3rd piece of leather by using a super glue; wait till the glue istotally dry before trimming off the exist leather on the 3rd layer.
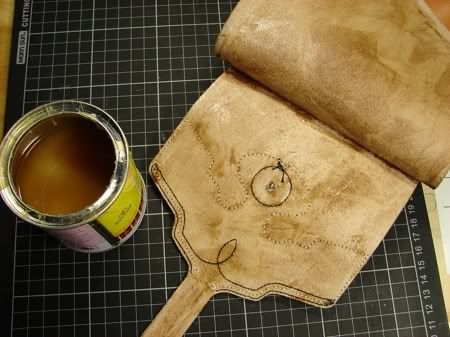
42. Trim off the exist leather.
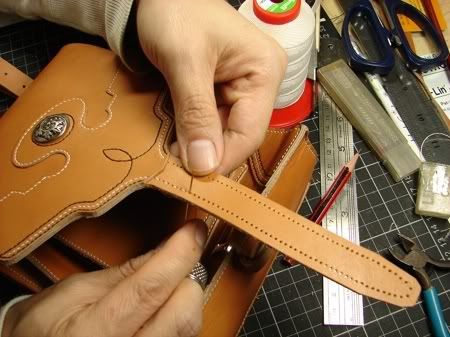
43. Add stitching to the strap.
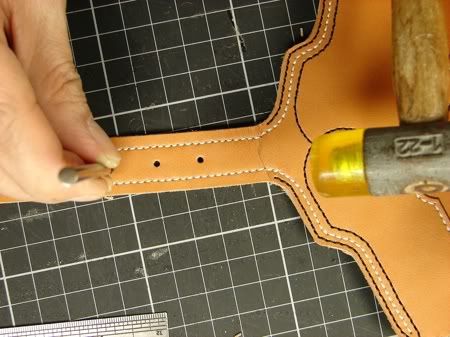
44. Punch holes on the strap for the buckle.
45. The finishing touch

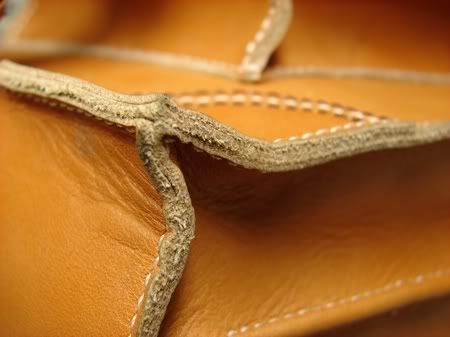
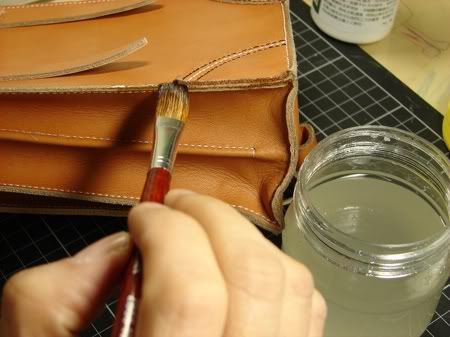
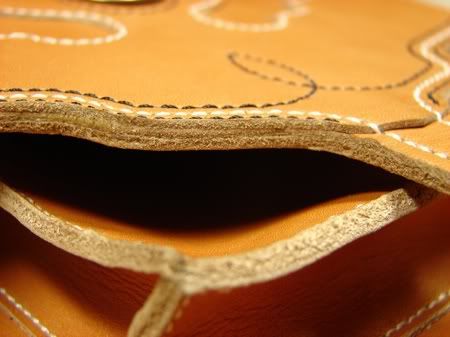
46. Raw edges.
47. Dissolve the CMC powder with water; apply the liquid to the edge of the leather with a painting brush.
48. When the liquid dried, polish the edges with sand paper.

49. Polished edges.
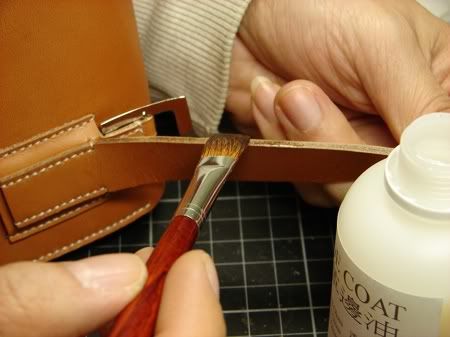
50. Apply the edge coat polish to the edges.
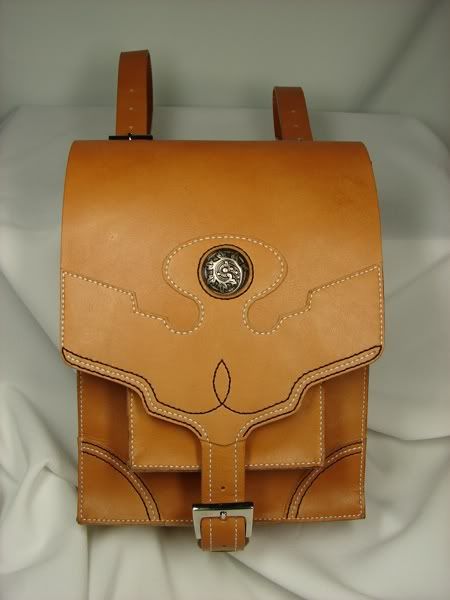
Job Completed
| 


 發表於 2009-6-13 01:27 PM
|
發表於 2009-6-13 01:27 PM
|  發表於 2009-6-13 02:22 PM
|
發表於 2009-6-13 02:22 PM
| 


 無得彈。不過最緊要個紙樣。